Note: To use the ITPP047 in a Macbook environment, you need to install this printer driver in advance.
- Get the driver from the link: http://u.pc.cd/5IHctalK
- If your system is updated, please uninstall the driver before installing it.
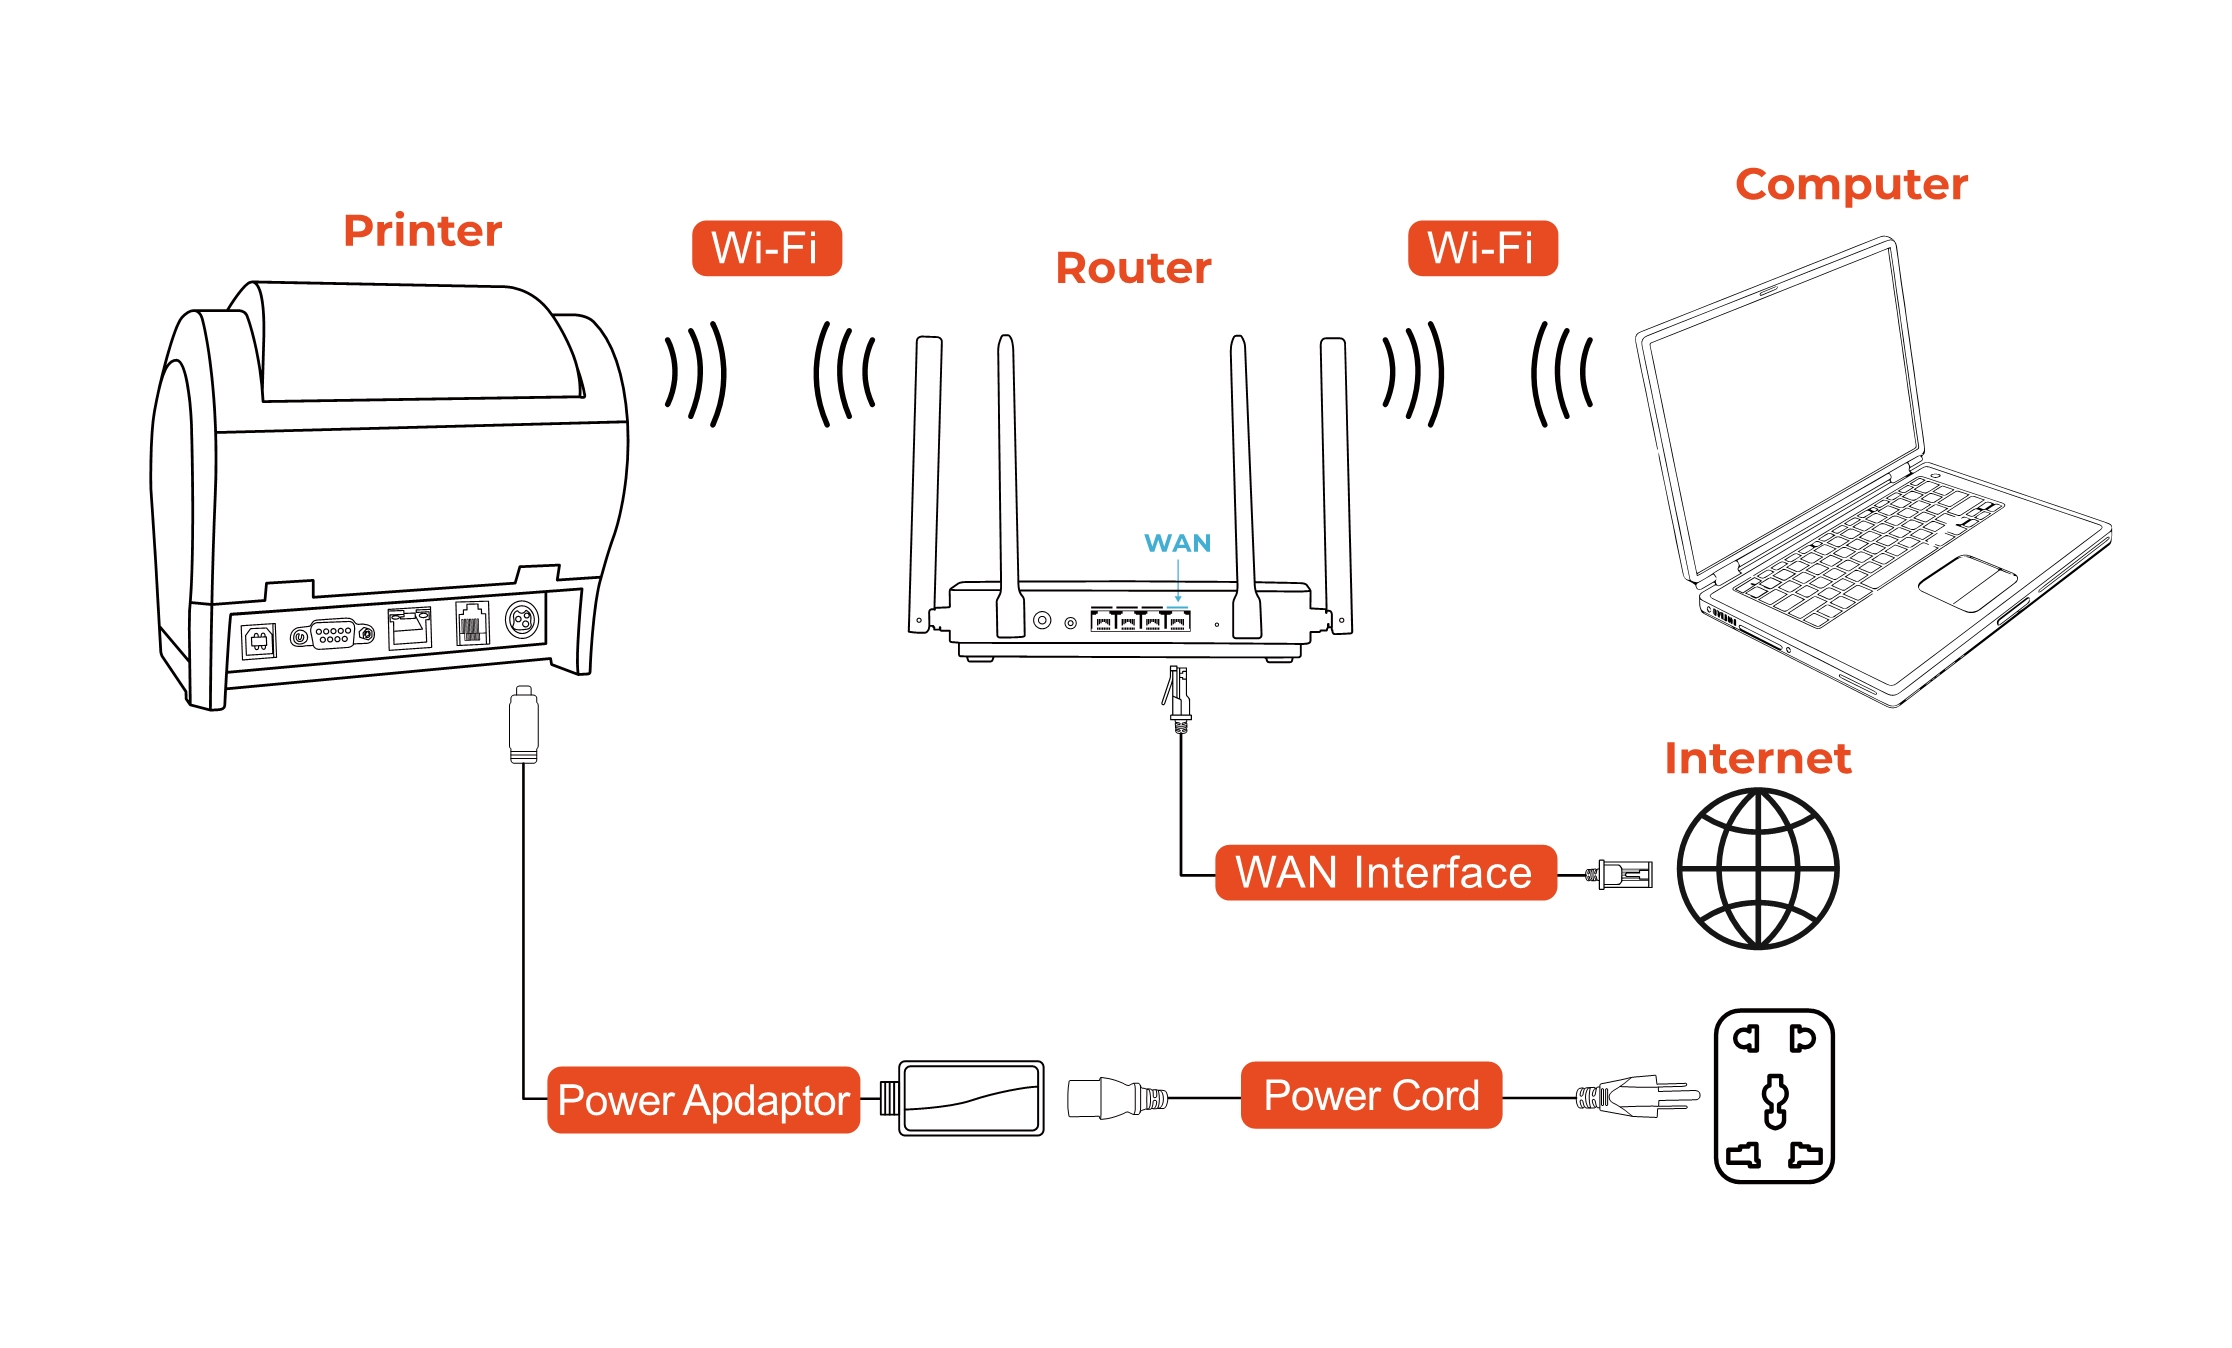
1.Before Installing the Wi-Fi Printer
The computer is connected to the wireless router. Please see the below picture.
The printer is turned on and properly loaded with paper.
2.Install the printer driver
Please follow the steps below to install the driver.
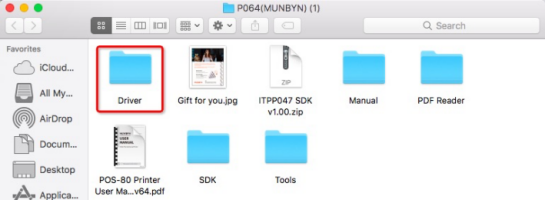
(1)The screen below appears by double-clicking the expanded <ITPP047 Driver(MUNBYN)> file.Click the <Driver> folder to open it.
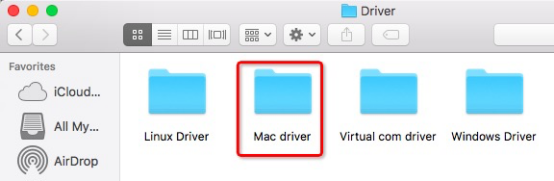
(2)Double-clicking the expanded <Mac driver> file.
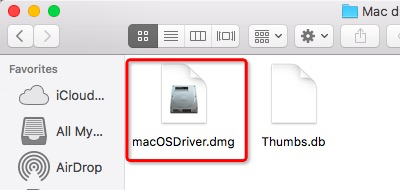
(3)The screen below is displayed.
Double-click <macOSDriver.dmg>.
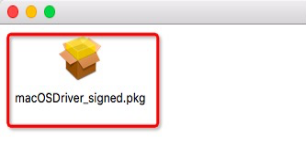
Click the <macOSDriver_signed. Pkg> file and the installation will start.
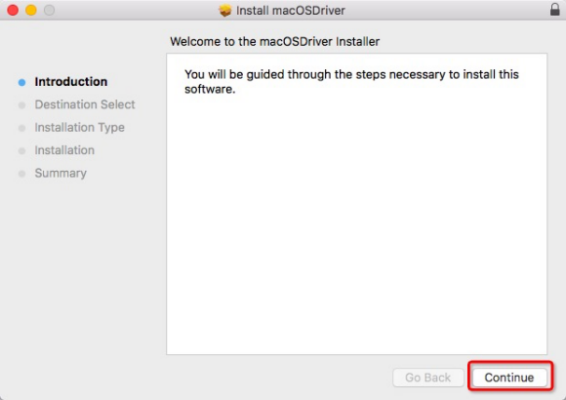
(4)Follow the instruction and click the [Continue]step by step.
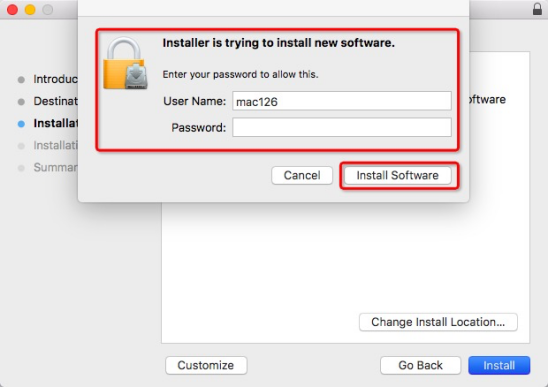
(5)Enter your Macpassword and click the [install Software].
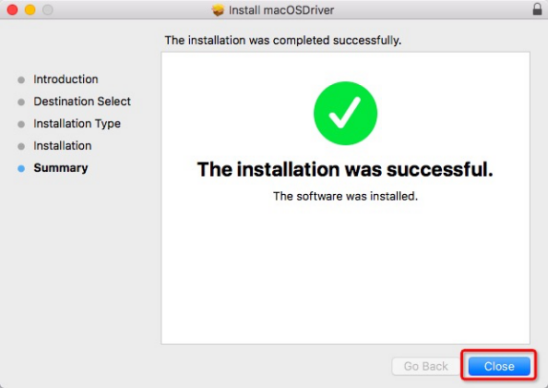
(6)Now the installation process ends successfully and you could click the [Close].
3.Install the Wi-Fi Printer
(1)In the Mac menu bar, open the [System Preferences] and click the [Network].
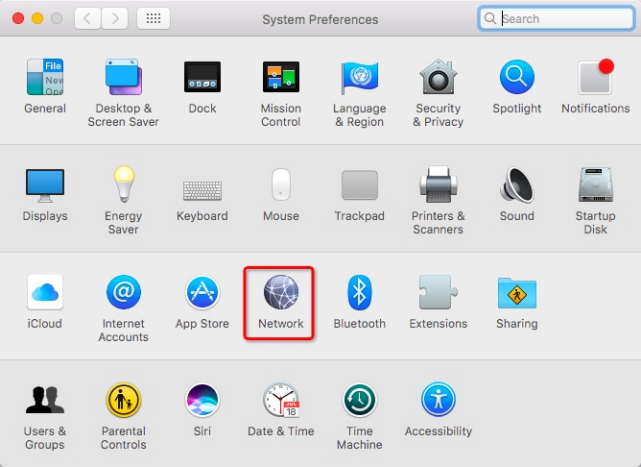
Figure 1 System Preferences
(2)Double check your Wi-Fi connection is connected, then click the [Advanced...].
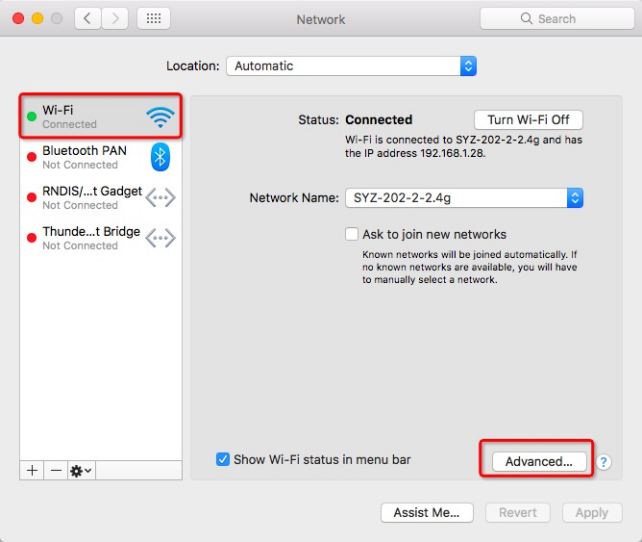
Figure 2 Network Page
(3)Click the [TCP/IP].
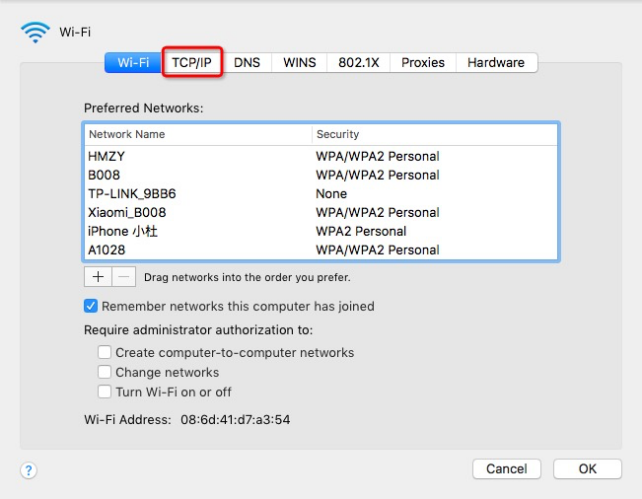
Figure 3 Network page
(4)Double check the IP details.
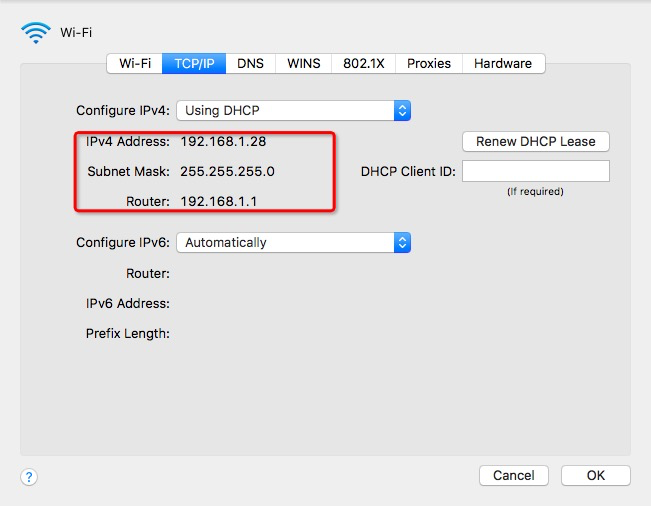
Figure 4 Network page
(5)Turn Wi-Fi on and match the [Wi-Fi Printer]. The password is 012345678
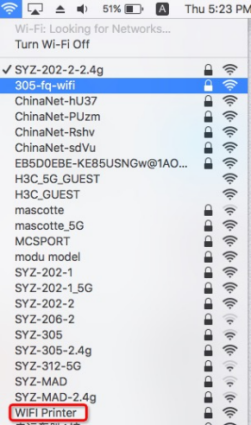
Figure 5 WiFi selection
(6)Open a browser and input [10.10.100.254].
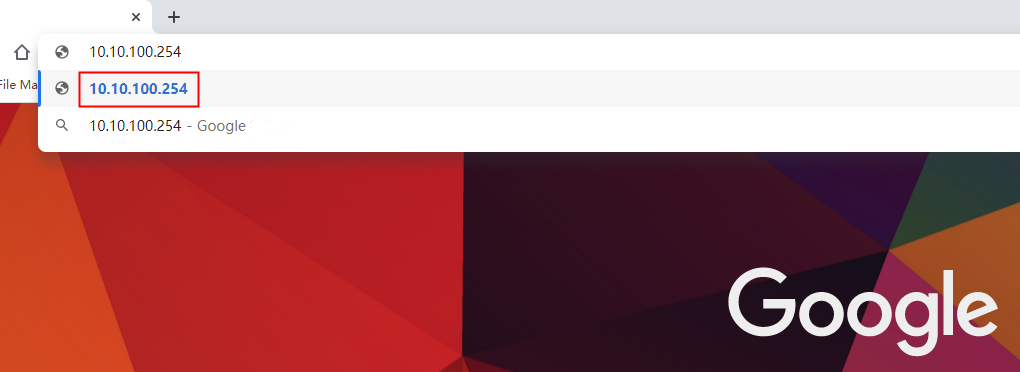
Figure 6 web page
(7)Sign in with the following user information. Username: admin Password: admin
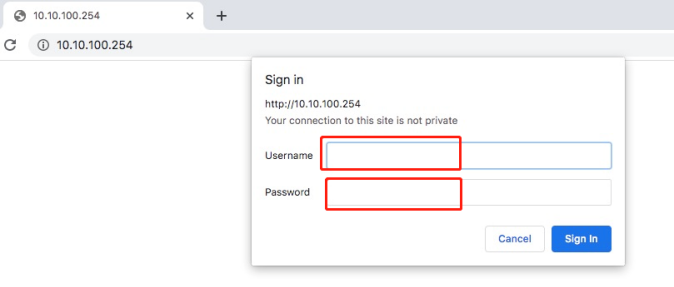
Figure 7 Login dialog
(8)Then click the [STA Settings].
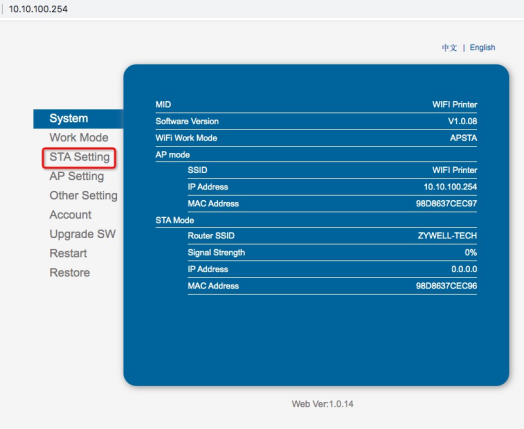
Figure 8 Installation Web Page
(9)Click the [Scan] and select your current wireless network.
Tip: need to select the same Wi-Fi as figure 2.
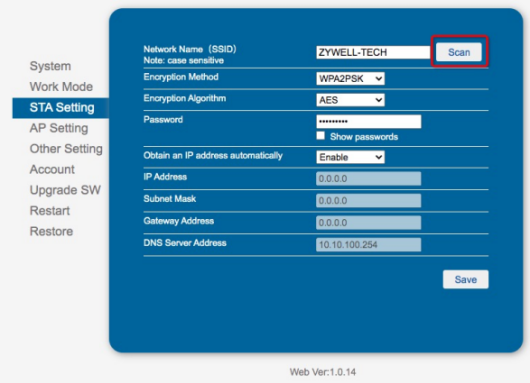
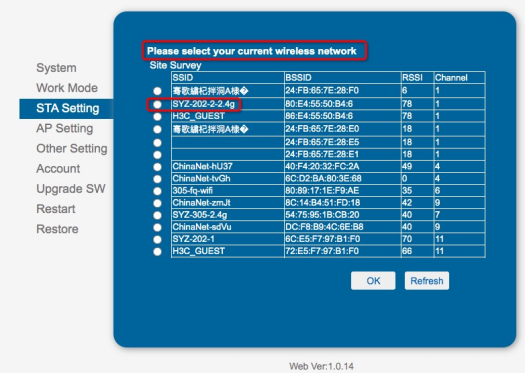
Figure 9 Installation Web Page
(10)Input the Wi-Fi Password, then click the [Save]. There will be a success page showing up after saving settings successfully.
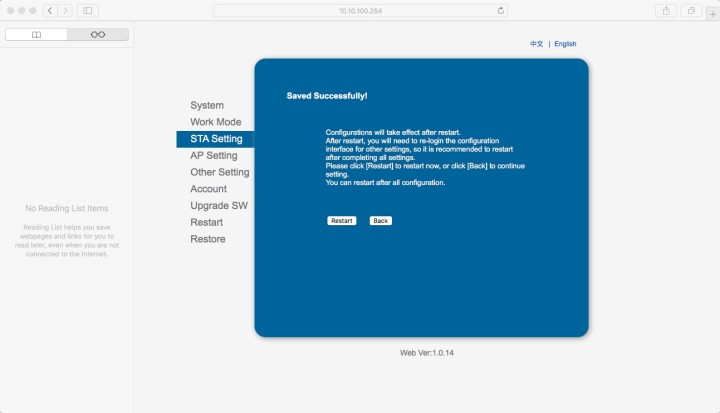
Figure 10 Installation Web Page
(11)Click Restart button and the Wi-Fi Printer page pop up automatically, it means the printer is now successfully connected to your current Wi-Fi. At this time, you need to connect your computer to the WiFi you used before that can access the Internet.
Notice:If the receipt of WiFi printer information does not pop up automatically, please turn off the power switch of the printer and turn it on again.
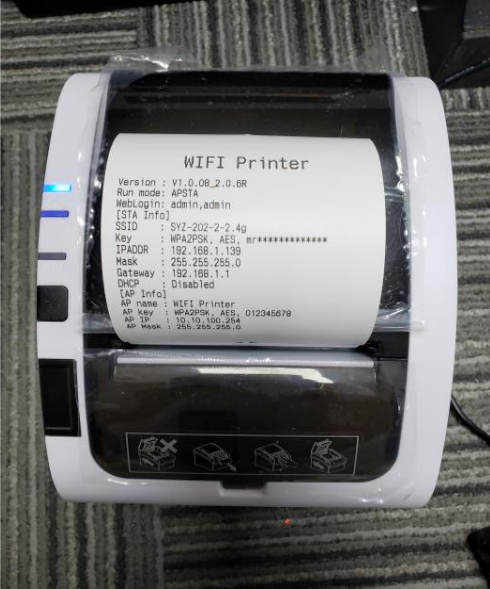
Figure 11 Wi-Fi Printer Self-checking Page
(12)In the Mac menu bar, open the [System Preferences] and click the [Printers & Scanners].
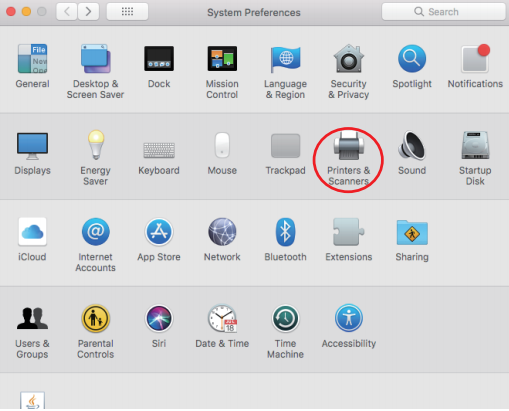
Figure 12 System Preferences
(13)The Print & Scanner interface appears, then click the [ + ].

Figure 13 Printers & Scanners
(14)Input the “IPADDR information”to the [Address] frame, and select the [Select Software] in the [Use] frame.
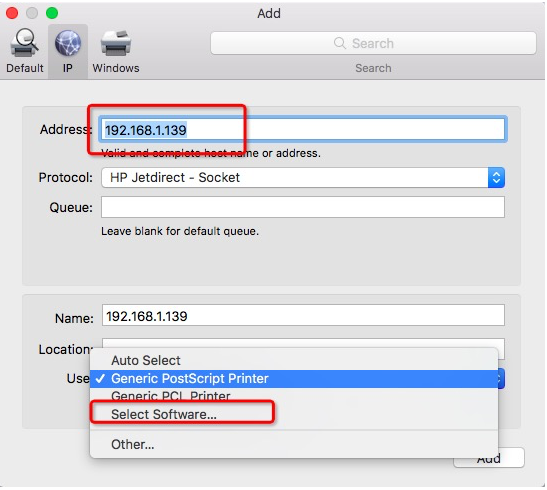
Figure 14 IP Add Page
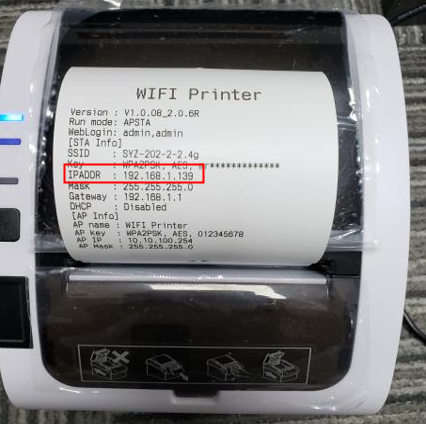
Figure 15 Wi-Fi Printer Self-checking Page
(15)Input the keyword 80 in the search box, and select the “POS-80”.
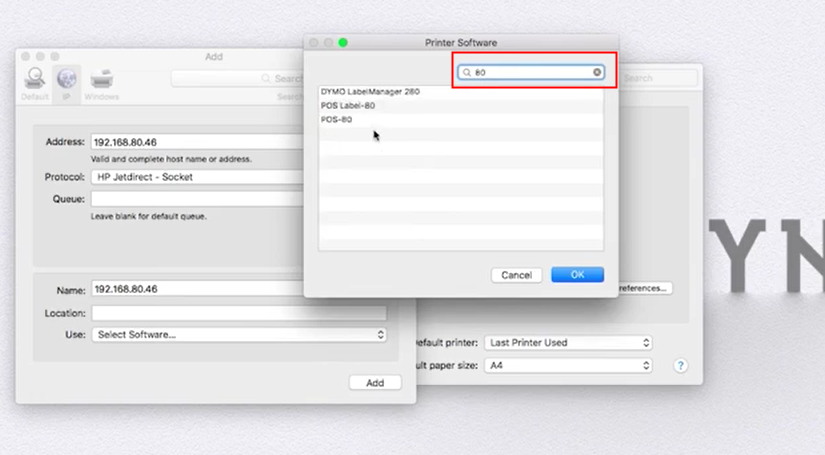
Figure 16 IP Page
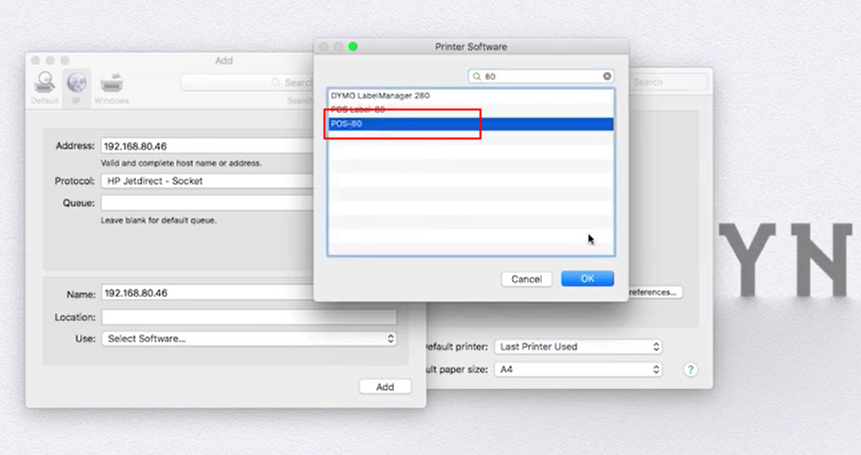
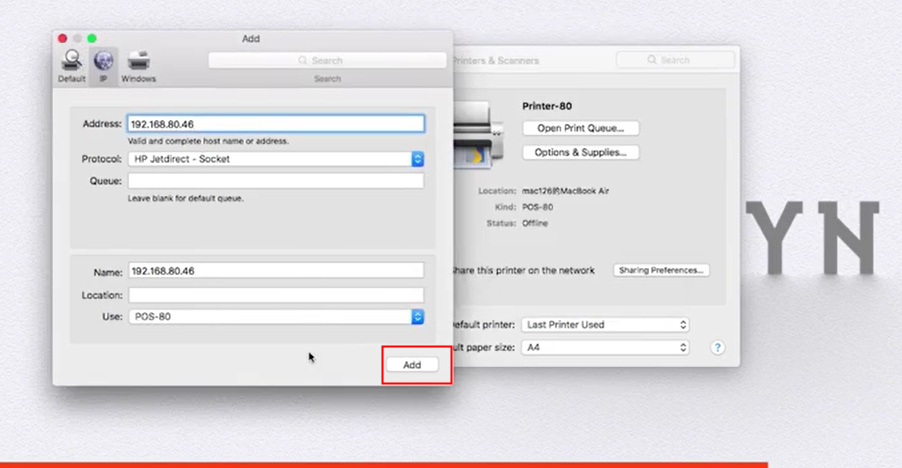
Figure 17 IP Setting
(16)Finally restart the printer.

Figure 18 Printers & Scanners
Demo video: https://munbyn.biz/Mac-WIFI
Dear MUNBYN Customer, contact us for further assistance:
E-mail: support@munbyn.com
Whatsapp: +8618144898200
Comments
0 comments
Please sign in to leave a comment.